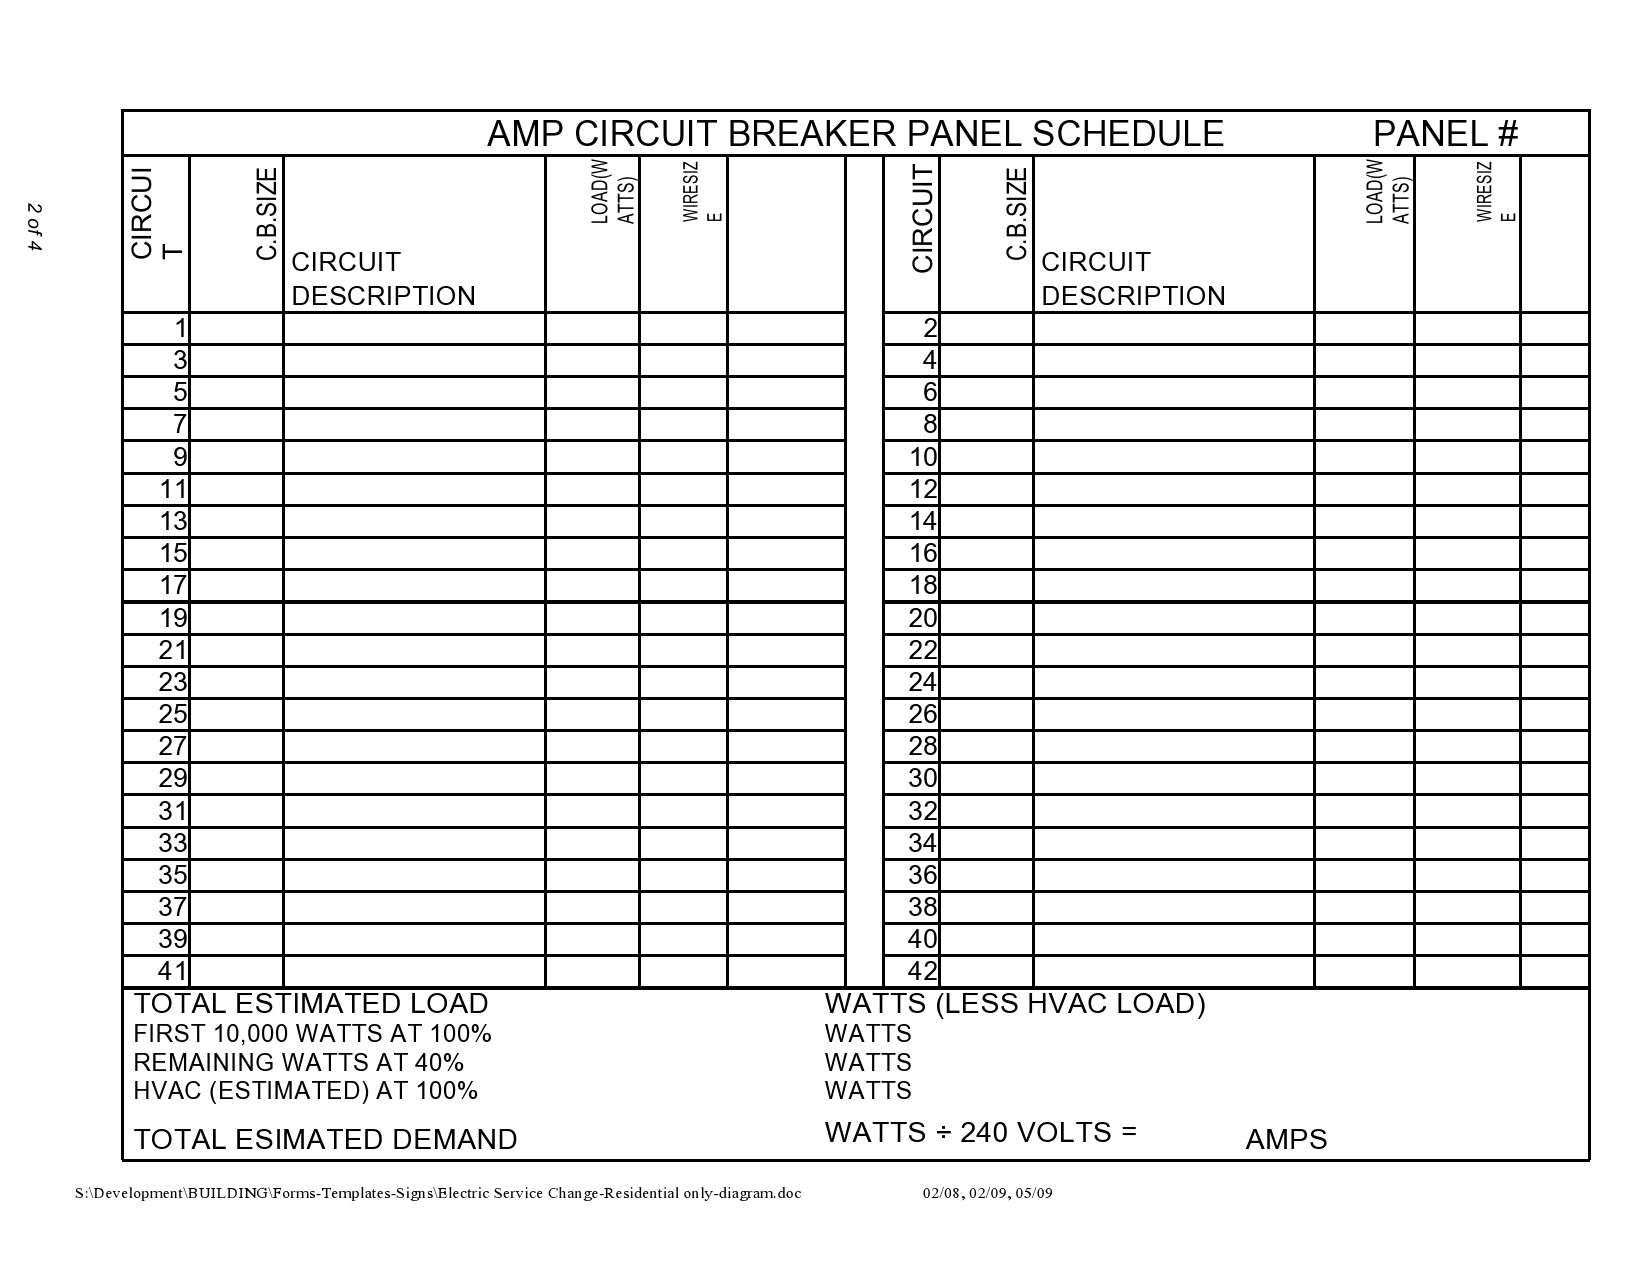
Panel schedules are an essential part of any electrical system, providing a detailed breakdown of the circuitry and electrical distribution within a building. Whether you’re a homeowner, electrician, or building manager, understanding how to read and create a panel schedule is crucial for maintaining a safe and efficient electrical system. In this comprehensive guide, we’ll delve into everything you need to know about panel schedules, from what they are and why they’re important, to what to include in a panel schedule and tips for creating a successful one. Let’s get started!
What is a Panel Schedule?
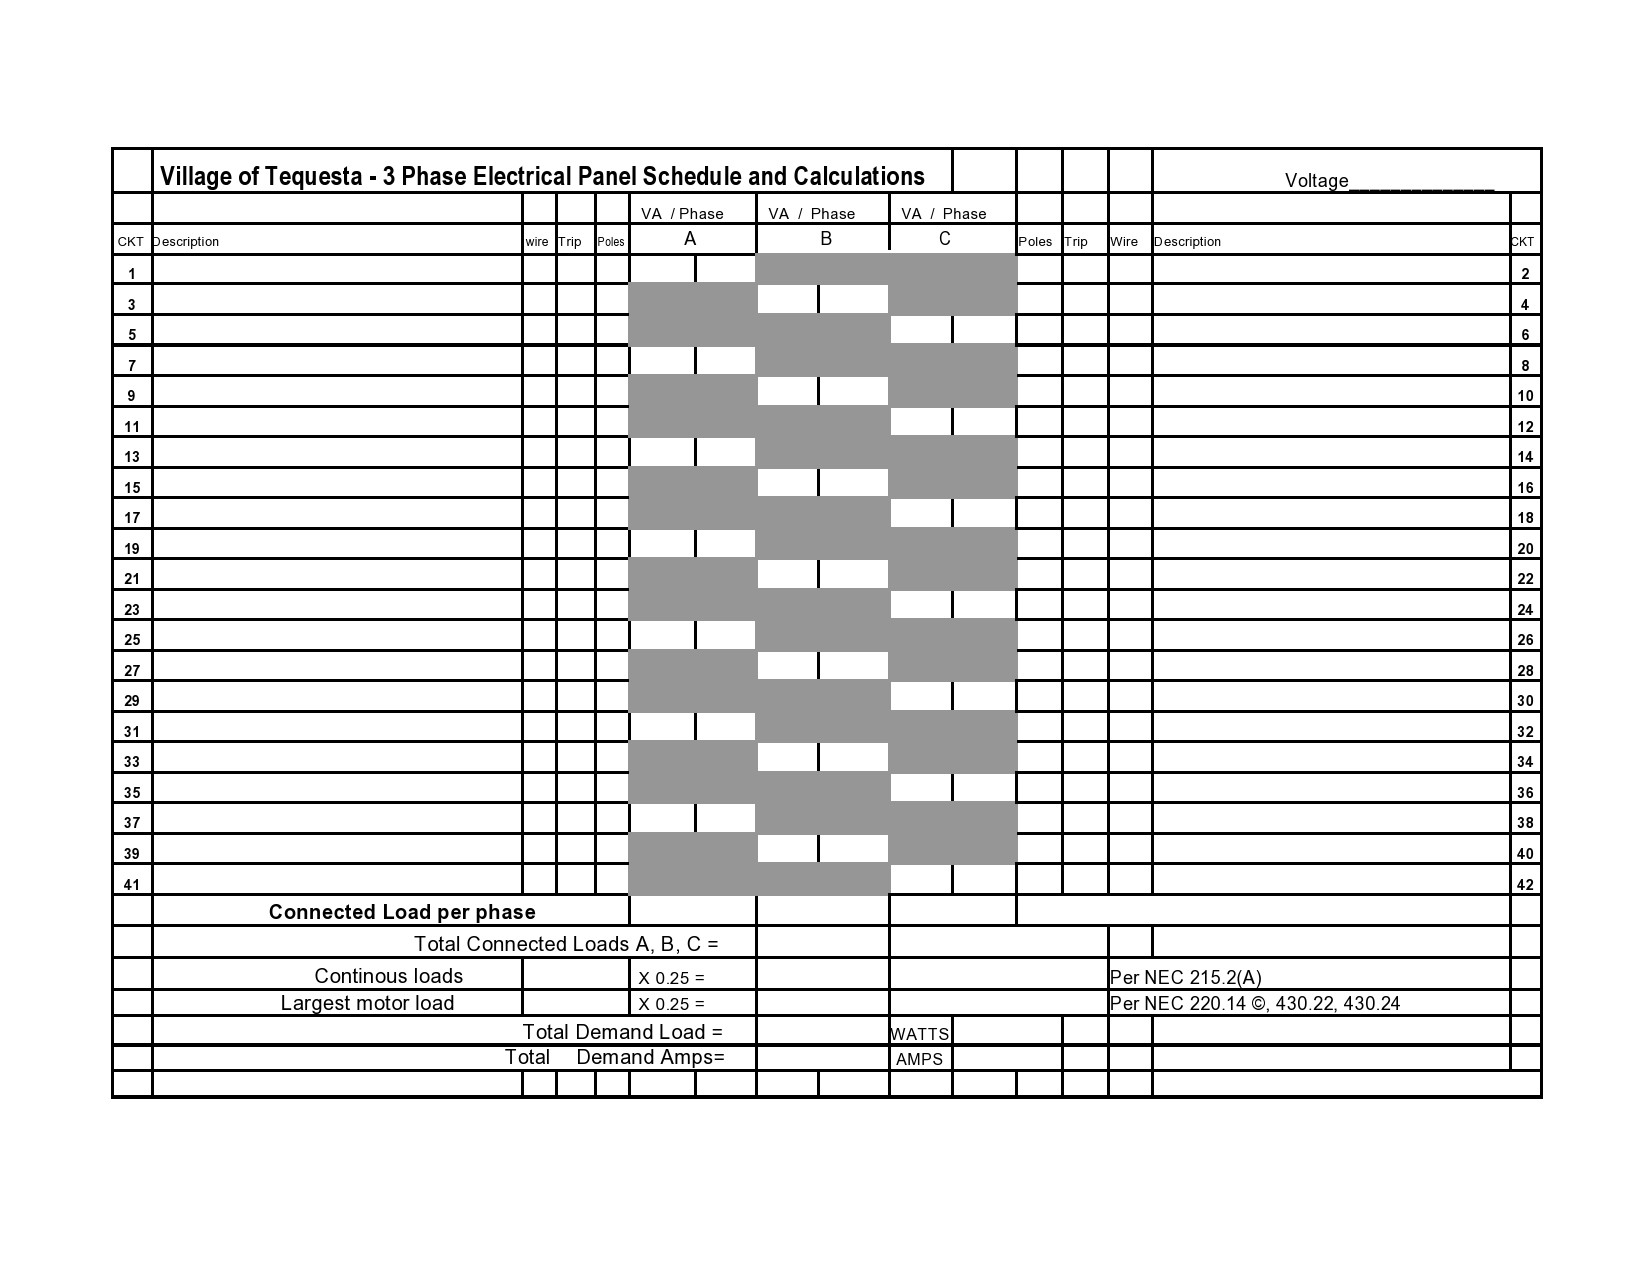
A panel schedule is a document that outlines the circuits, loads, and electrical distribution within a building or facility. It provides detailed information about each circuit, including the circuit number, circuit breaker size, wire size, and connected loads. Panel schedules are typically found on the inside of electrical panels and are used by electricians, building managers, and homeowners to identify and troubleshoot electrical issues.
Why are Panel Schedules Important?
Panel schedules play a crucial role in ensuring the safety and efficiency of an electrical system. By providing a detailed breakdown of the circuits and loads within a building, panel schedules help electricians and building managers quickly identify and address electrical issues. In the event of a power outage or circuit overload, a well-organized panel schedule can help pinpoint the source of the problem and facilitate a faster resolution.
What to Include in a Panel Schedule
When creating a panel schedule, it’s important to include the following key information:
- Circuit Number: Each circuit should be assigned a unique number for easy identification.
- Circuit Breaker Size: The size of the circuit breaker should be listed to ensure proper protection for the circuit.
- Wire Size: The gauge of the wire used for each circuit should be noted to prevent overloading.
- Connected Loads: Include a list of all devices and appliances connected to each circuit to calculate the total load.
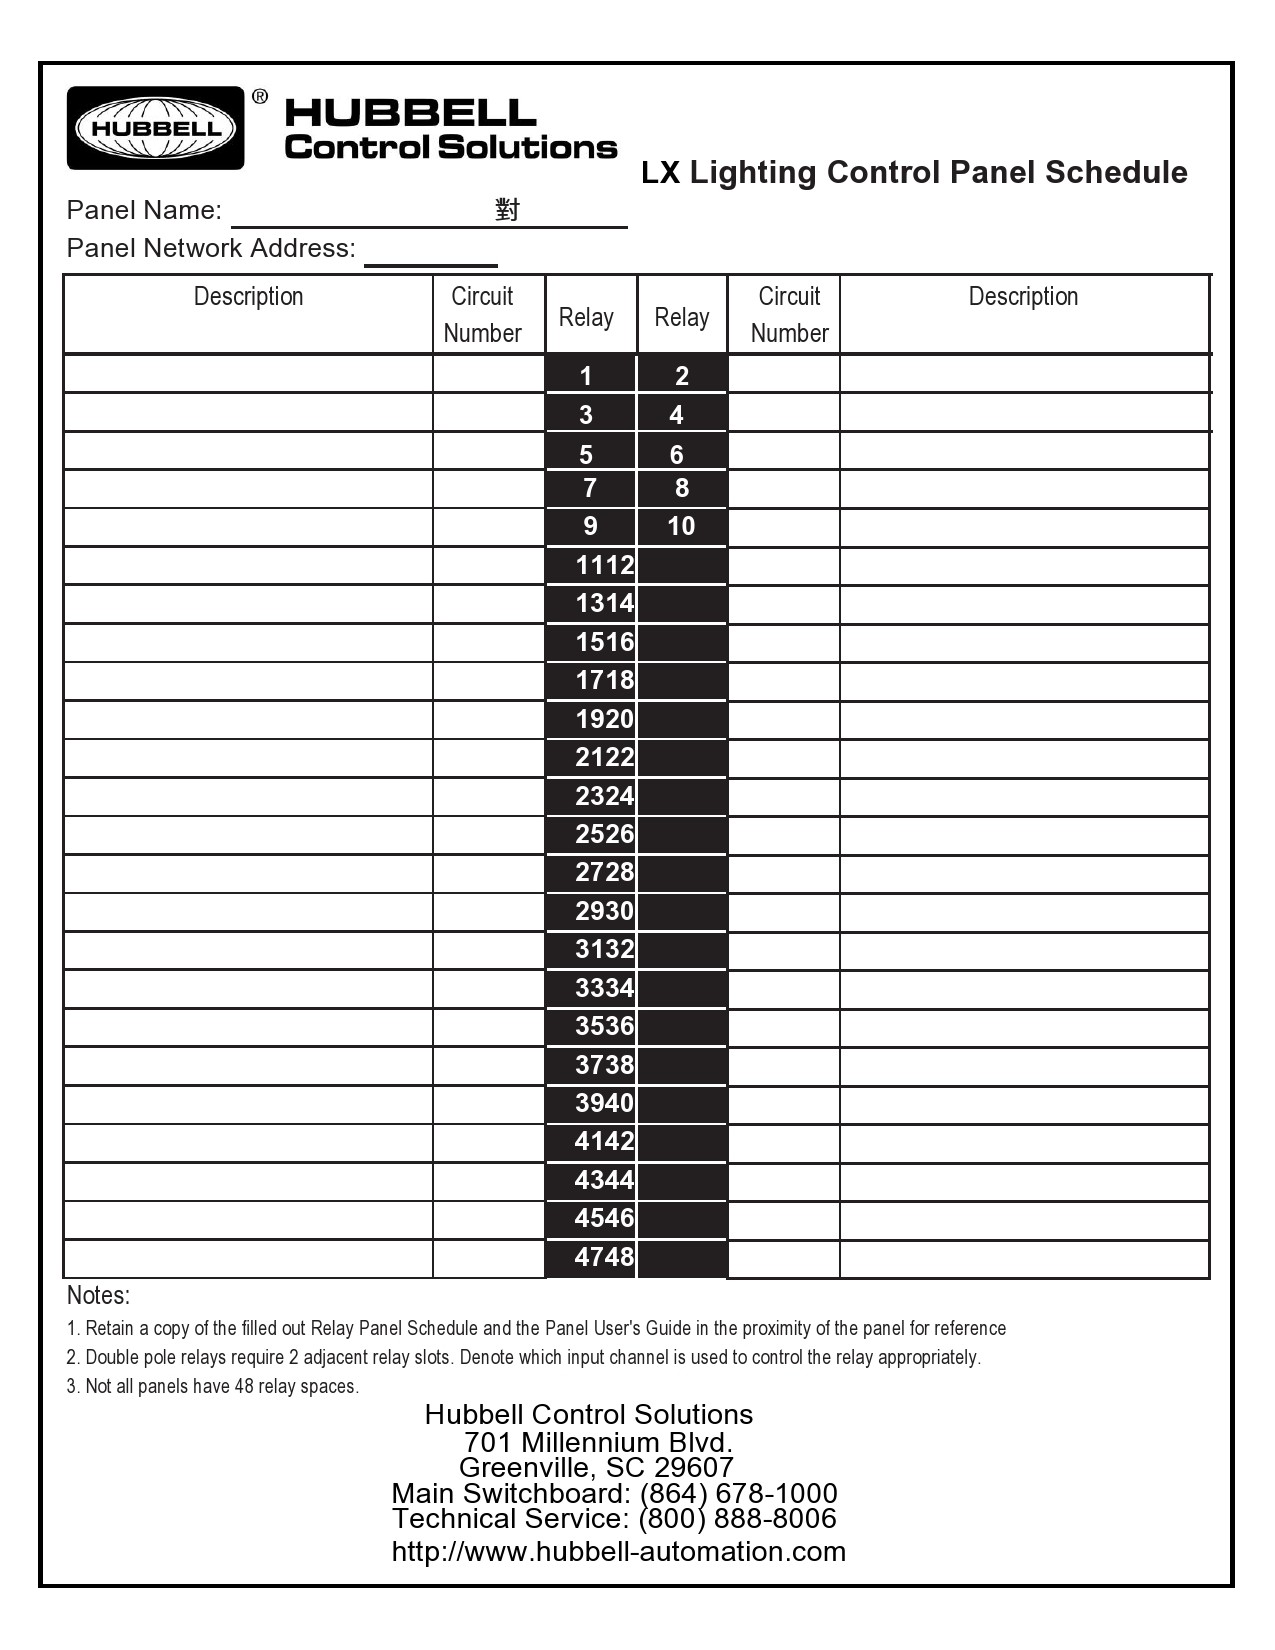
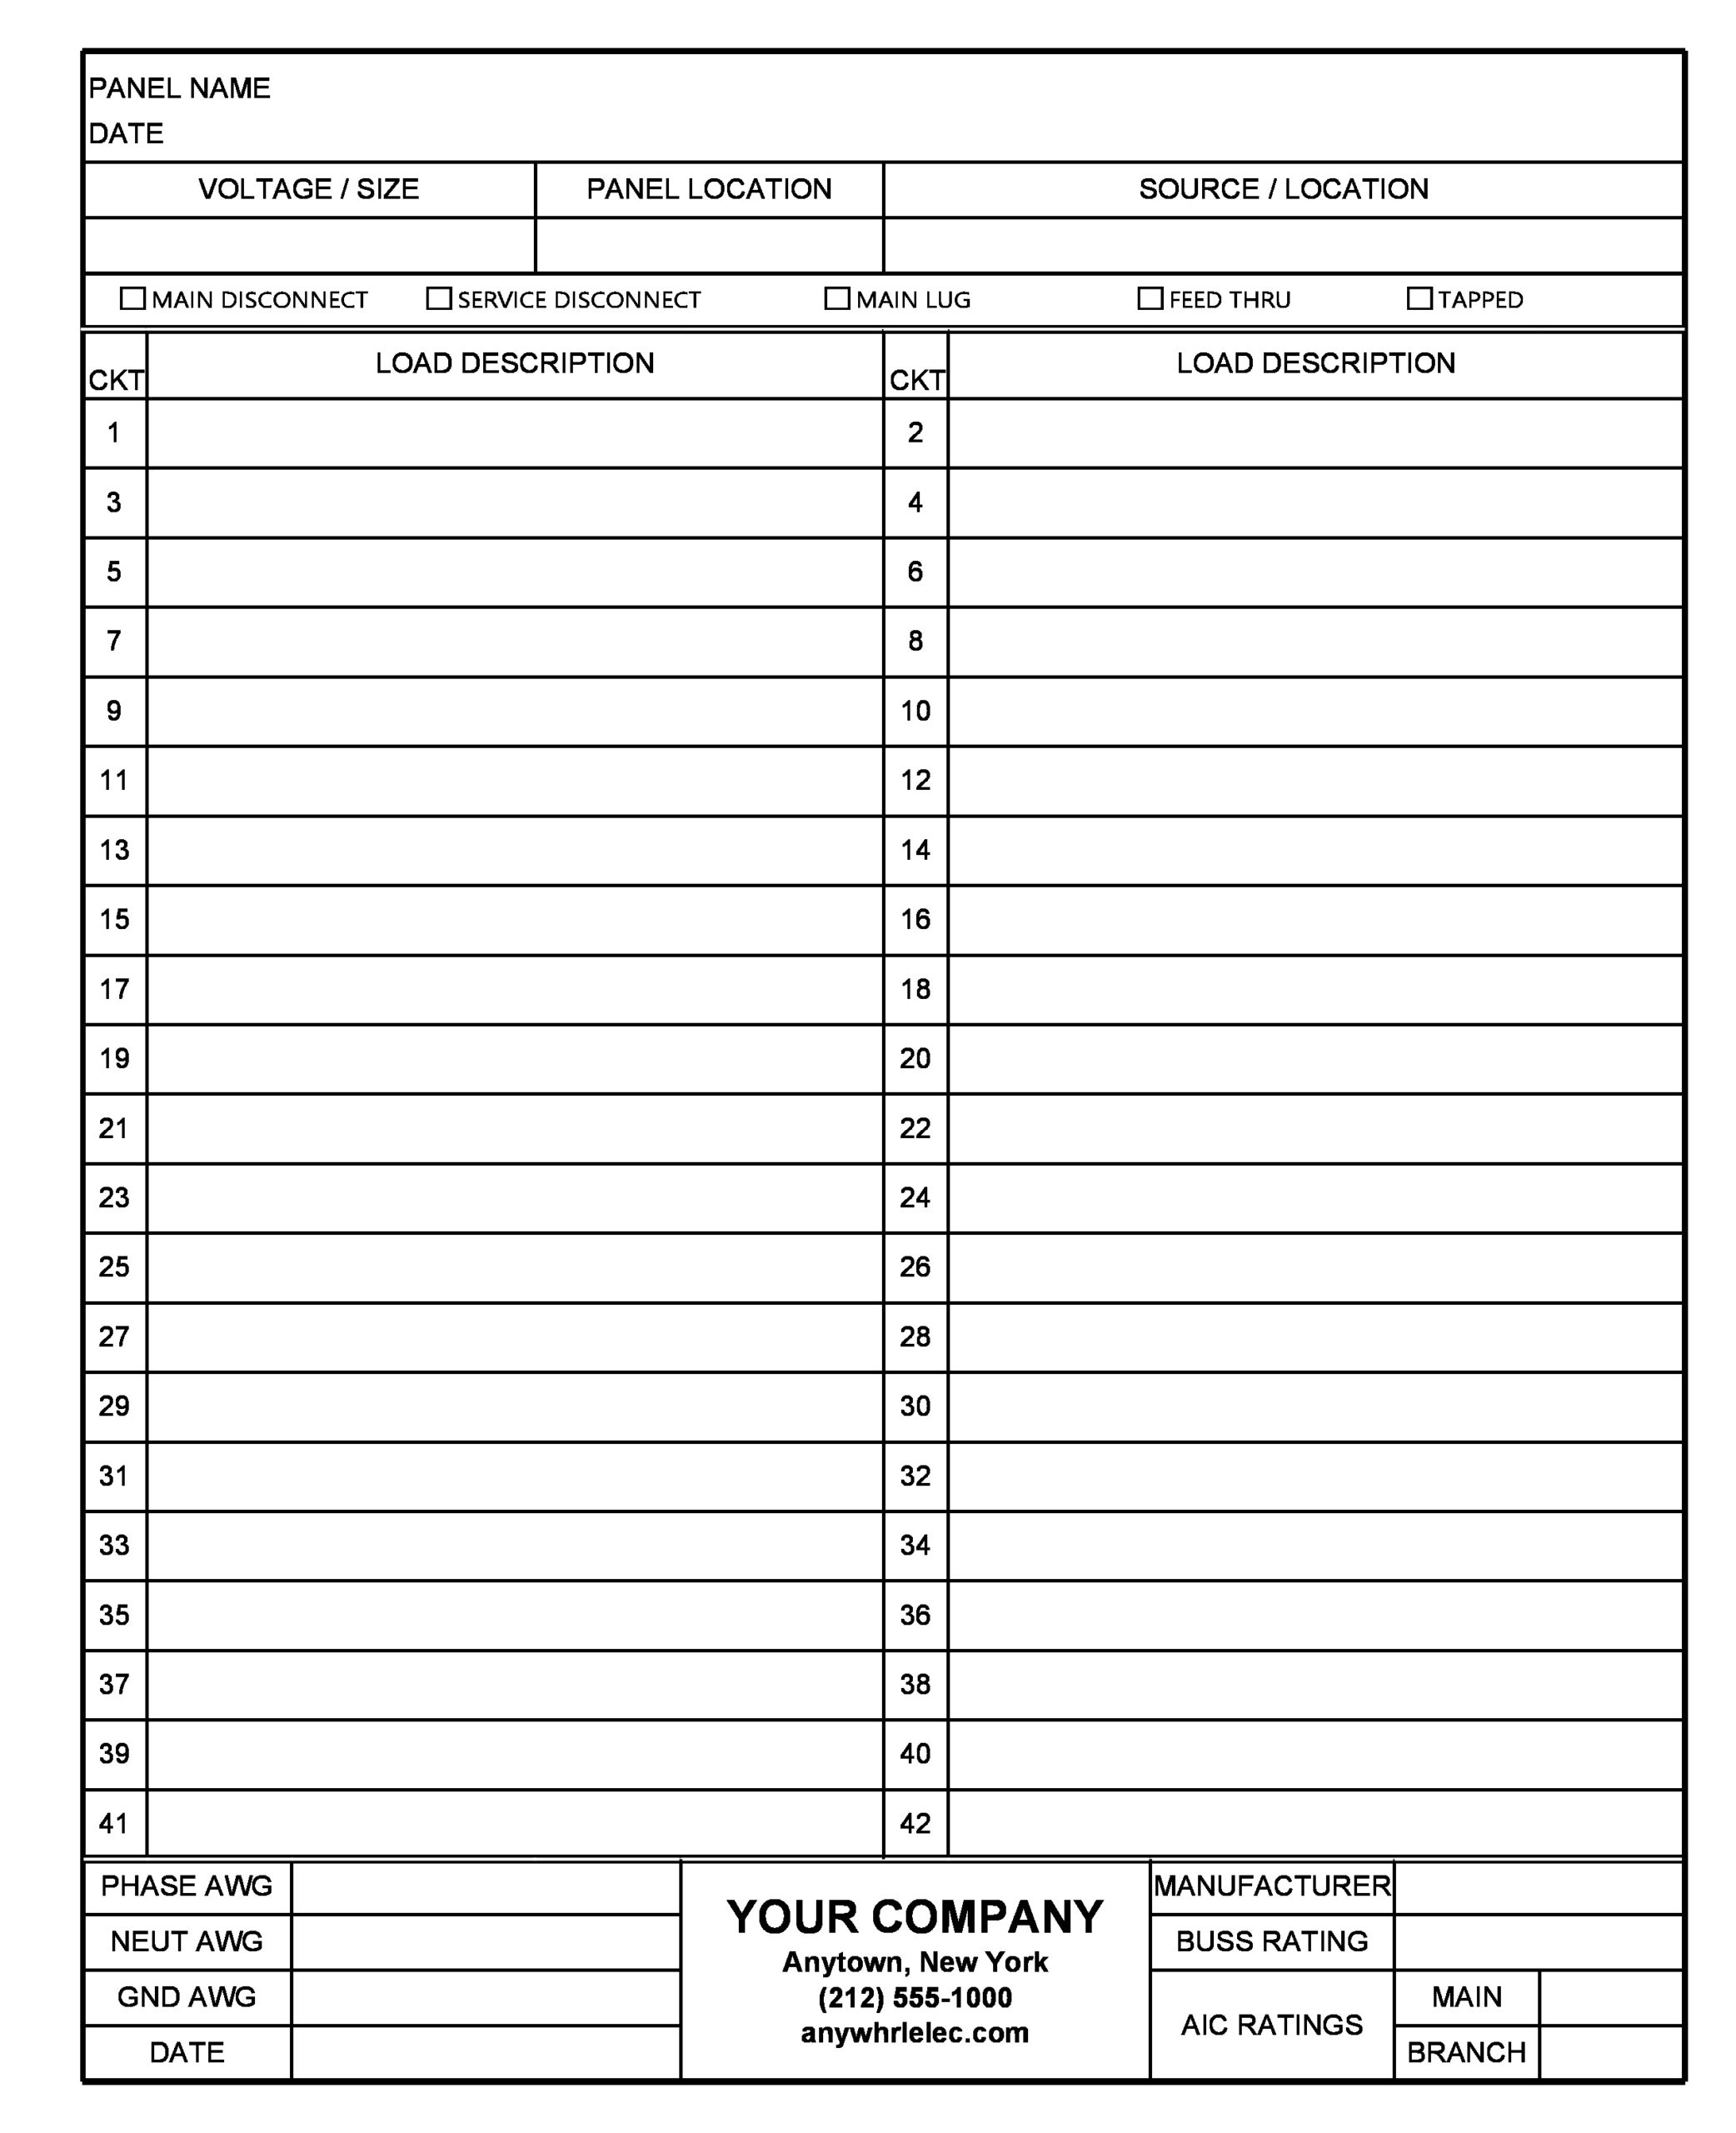
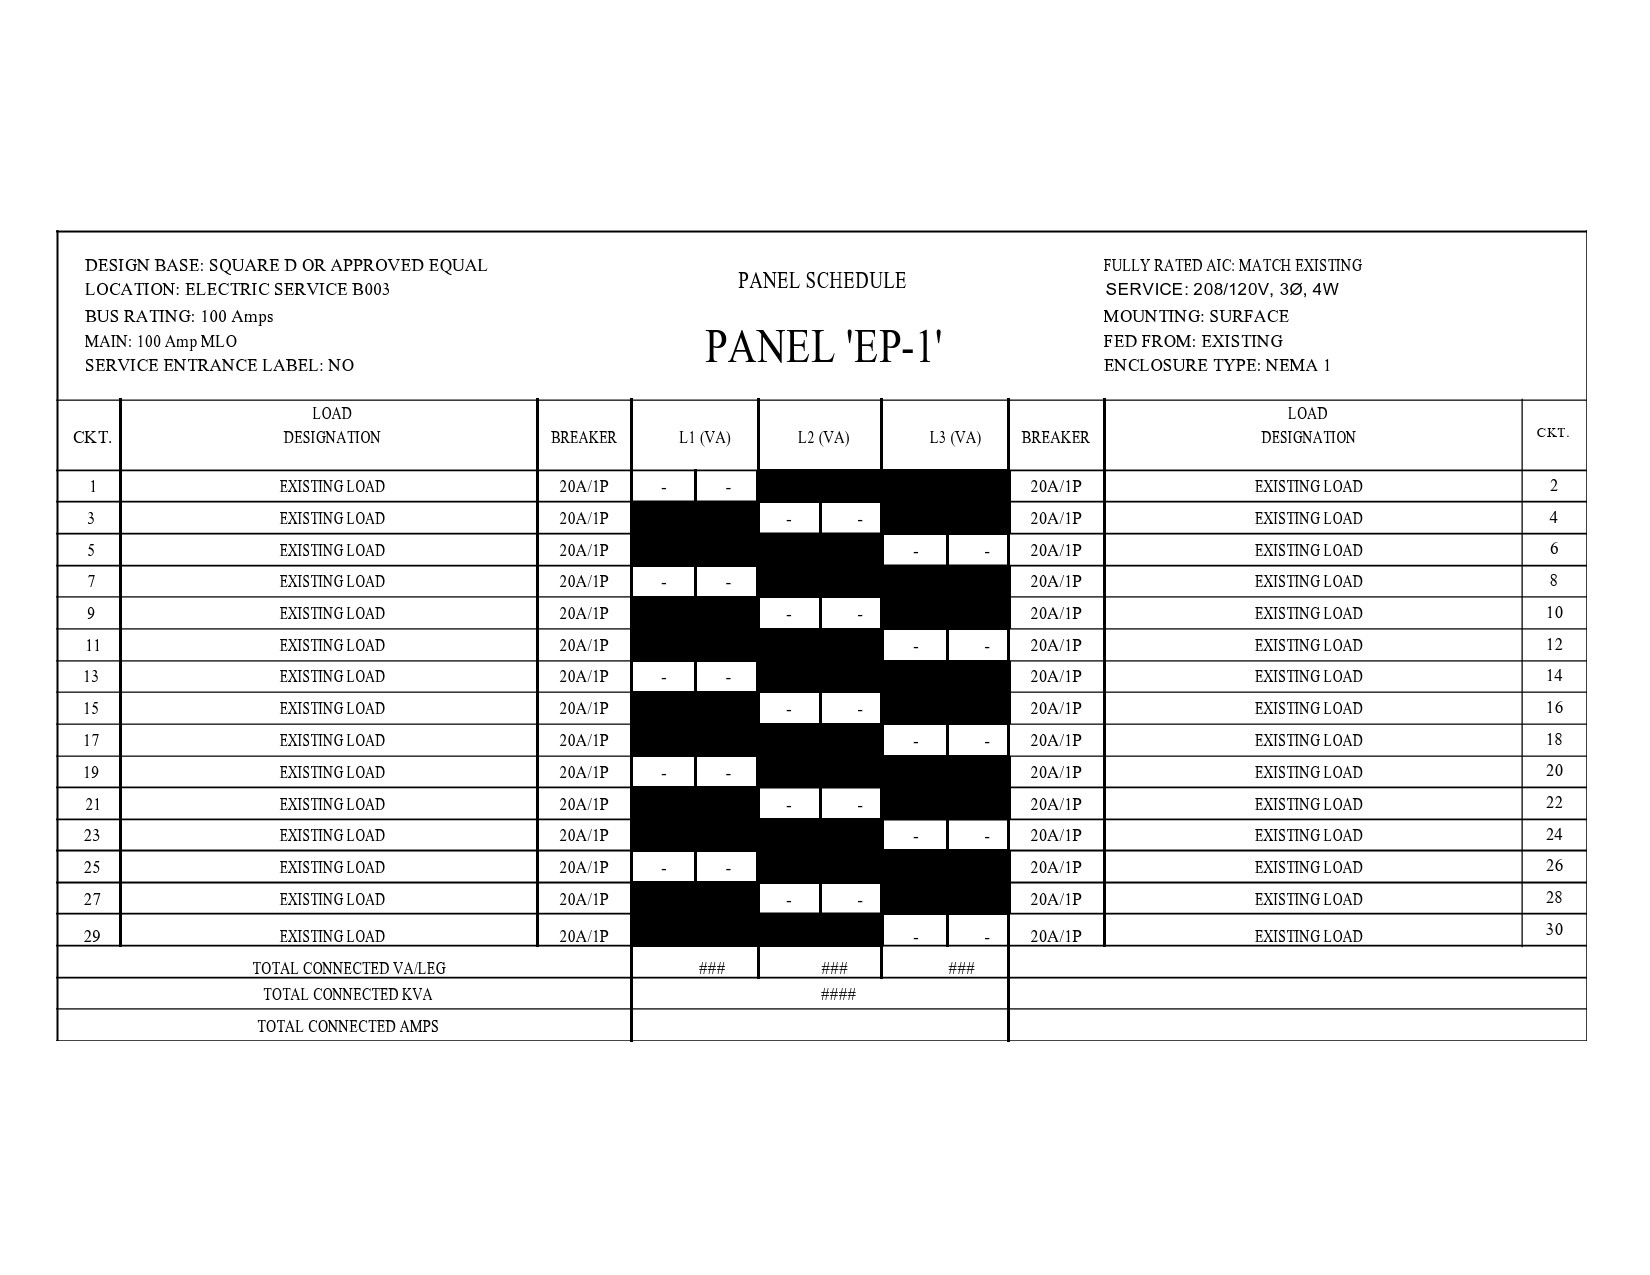
How to Create a Panel Schedule
Creating a panel schedule involves several steps, including:
1. Gather Information
Collect information about the circuits, loads, and electrical distribution within the building.
2. Organize Data
Organize the information in a clear and logical format, grouping circuits by location or function.
3. Create the Schedule
Use a spreadsheet or specialized software to create the panel schedule, ensuring all key information is included.
4. Label the Panel
Label each circuit in the electrical panel with the corresponding circuit number for easy reference.
5. Regularly Update
Regularly update the panel schedule as changes are made to the electrical system to maintain accuracy.
Tips for Successful Panel Schedules
Here are some tips to help you create and maintain successful panel schedules:
- Keep it Organized: Group circuits logically and use clear labels for easy identification.
- Include Detailed Information: Provide as much detail as possible about each circuit to facilitate troubleshooting.
- Regular Maintenance: Update the panel schedule regularly to reflect any changes or additions to the electrical system.
- Consult with Professionals: If you’re unsure about creating a panel schedule, consult with a licensed electrician for guidance.
- Label Clearly: Use clear and legible labels for each circuit in the electrical panel to avoid confusion.
By following these guidelines and tips, you can create a comprehensive and accurate panel schedule that will help you effectively manage your electrical system. Remember, safety should always be the top priority when working with electricity, so never hesitate to seek professional assistance if needed.

- Free Printable Travel Request Form Template - September 20, 2026
- Free Startup Business Plan Template - September 20, 2026
- Free Printable T-Chart Template - September 20, 2026
